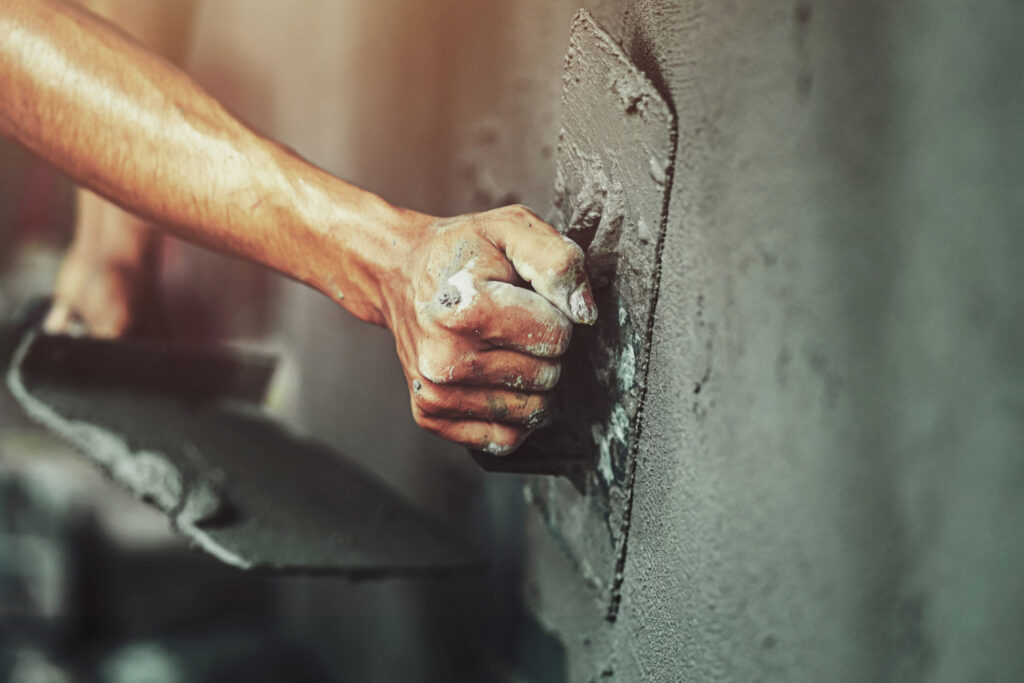
Getting Ready To Start Plastering As A Complete Beginner

Embarking on a journey into the world of plastering as a complete beginner may seem daunting, but with the right mindset, tools, and techniques, you can turn this challenge into a rewarding skill. Plastering is not just about covering walls; it’s an art that requires precision, patience, and practice. Once you successfully take on a task like plastering your home, it can give you the confidence to undertake almost any DIY challenge. In this guide, we will walk you through the essential steps to get you ready for your plastering adventure.
Understanding The Basics
Before diving into plastering, it is crucial to understand the basics of the craft. Plastering involves applying a smooth and even layer of plaster to walls and ceilings, creating a seamless and polished finish. Plastering goes beyond aesthetics; it also protects the underlying structure and improves the durability of the surfaces.
Gather The Right Tools & Materials
Having the correct plastering tools and materials is key to a successful plastering experience as a beginner. Here is a list of essential items you will need to get started:
- Plastering Trowel: This is the primary tool used to apply and smooth the plaster. Choose a trowel with a comfortable grip and a flexible, stainless-steel blade for better control.
- Hawk: A hawk is a flat, square board with a handle that is a portable platform for holding the plaster. It allows you to scoop up the plaster with your trowel while working.
- Plaster Mixing Bucket: Invest in a sturdy bucket for mixing plaster. A mixing bucket with measurement markings helps you achieve the right consistency for your plaster.
- Plastering Sand: Different types of plaster require specific grades of sand. Consult with your local supplier for the right sand for your plaster mix.
- Plastering Water: Use clean water for mixing plaster. Having a spray bottle on hand can help you adjust the moisture content of the plaster as needed during application.
- Dust Sheets & Mask: Plastering can be messy, so protect your surroundings with dust sheets. Additionally, wear a dust mask to protect yourself from inhaling airborne particles.
- Spirit Level: To ensure a level surface, a spirit level is essential for checking your plastered walls’ horizontal and vertical alignment.
- PVA Adhesive: Applying a diluted PVA adhesive to the wall before plastering helps improve adhesion and prevents the plaster from drying too quickly.
Preparing the Surface
Achieving a smooth plaster finish starts with proper surface preparation. Follow these steps to ensure your walls are ready for plastering:
- Clean The Surface: Remove any dust, dirt, or loose debris from the walls. A clean surface ensures better adhesion of the plaster.
- Fill Cracks & Holes: Use a suitable filler to patch up any cracks or holes in the wall. Allow it to dry thoroughly before proceeding to the next step.
- Apply PVA Adhesive: Dilute PVA adhesive with water (typically 1:4) and apply it to the wall. It seals the surface and promotes better adhesion of the plaster.
Mixing & Applying Plaster
Now that your tools are ready and the surface is prepared, it’s time to mix and apply the plaster. Follow these steps:
- Measure & Mix: Follow the manufacturer’s instructions for mixing plaster. Mix the appropriate plaster ratio to water until you achieve a smooth, lump-free consistency.
- Load The Hawk & Trowel: Scoop up a suitable amount of plaster onto the hawk, then load your trowel. Hold the trowel at a slight angle to the wall for the first pass.
- Apply The Plaster: Start from the top corner of the wall and work your way down. Apply the plaster in a thin, even coat to cover the entire surface. Once the first coat is complete, wait for it to set before adding additional layers.
- Smooth & Level: Use the trowel to smooth and level the plaster. Keep the trowel at a slight angle to avoid creating lines or ridges. Periodically check your work with a spirit level to maintain an even surface.
- Feathering Edges: Feather the edges of the plaster as you work to create a seamless transition between the plastered and non-plastered areas.
Finishing Touches
As you approach the completion of your plastering project, pay attention to the finishing touches that will enhance the overall appearance and longevity of your work:
- Curing Time: Allow the plaster to dry and cure completely before attempting any further work or painting. It usually takes a few days, depending on the type of plaster used and environmental conditions.
- Sand & Polish: Lightly sand the surface to remove imperfections once the plaster is fully dry. This step prepares the surface for painting or further decorative finishes.
- Prime Before Painting: Before applying paint, it’s advisable to use a primer on the plastered surface. It improves paint adhesion and ensures a more even finish.
Learning From Experience
Plastering, like any skill, improves with practice. Do not be discouraged by initial challenges or imperfections; view them as opportunities to refine your technique. Consider starting with a small, less visible area to build confidence before tackling larger projects.